Contents
Amazon Web Services (AWS) Account
When you first create an Amazon Web Services (AWS) account, you start with a single sign-in identity that has full access to all Amazon Web Services and tools in the account. This identity is known as the AWS account root user, and it can be reached by logging in using the email address and password that you used to build the account.
It is strongly recommended that you only use the root user as a last option. Instead, use the root user only to configure identity federation using AWS Single Sign-On or an identity provider configured in IAM. You must sign in as the root user to see the tasks that require root login; see AWS Tasks That Require Root User for more details.
NOTE: If you don’t even have an AWS Organizations corporate structure, AWS Control Tower is the simplest way to get started. For more detail, see Security Foundations and Identity and Access Management in the AWS Well-Architected security whitepaper.
1.1 Create and examine the AWS Account Credential Report
It is helpful to make sense of what you have already installed in your Amazon Web Services account, particularly if you have had it for some time. In the following options, you can audit the security configuration:
- In a regular basis. As a best practice for security, you can repeat the steps outlined here at regular intervals.
- If there are some transitions in the company, such as staff changes.
- If you have stopped the use of one or more individual AWS programs. This is necessary for deleting permissions that users of your account no longer need.
- If you’ve changed the apps in your accounts, such as Amazon EC2 instances, AWS Ops Works stacks, AWS Cloud Formation templates, and so on.
- If you believe that an unauthorized user has compromised your account.
Follow these instructions while updating the account’s security settings:
Be thorough. Investigate all facets of your security setup, even those you do not use on a daily basis.
Don’t make assumptions. If you are unsure about a specific feature of your security setup (for example, the logic behind a particular policy or the nature of a role), investigate the business need until you are satisfied.
Keep it easy. Using IAM classes, consistent naming schemes, and simple rules to make auditing (and management) simpler.
More details is available at https://docs.aws.amazon.com/general/latest/gr/aws-security-audit-guide.html.
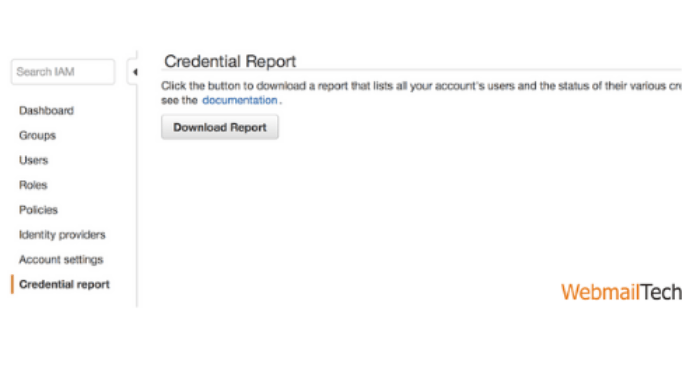
You can save a credential report as a comma-separated values (CSV) file using the AWS Management Console. Please keep in mind that updating the credential report will take up to 4 hours. To receive a credential report from the AWS Management Console, follow these steps:
- Sign in to the AWS Management Console and go to https://console.aws.amazon.com/iam/ to use the IAM console.
- Select Credential report from control window.
- Click the Download Report button.
1.2 Configure a Virtual MFA Device for Your AWS Account’s Root User
To setup and allow a virtual MFA device for your root user, use IAM in the AWS Management Console. To manage MFA devices for the AWS account, you must be signed in to AWS with your root user credentials. Other keys could be used to manage MFA devices for the root user.
If MFA device is lost, stolen, or disabled, you can still sign in with alternative factors. To do so, you must check your identification using the email and phone number account name. This ensures that if you are unable to sign in using your MFA device, you can sign in by checking your identity using the email and phone number associated with the account. Until activating MFA for your root user, check your account settings and contact info to insure that you have access to the email and phone number. Why MFA Device Is Lost or Stops Working? for more information on logging in using alternative authentication factors.
- Sign in to the IAM console as the AWS account root user at https://console.aws.amazon.com/iam/ using the AWS account email address and password.
Choose one of the following options:
- Option 1: Extend Allow MFA on your root user under Security Status.
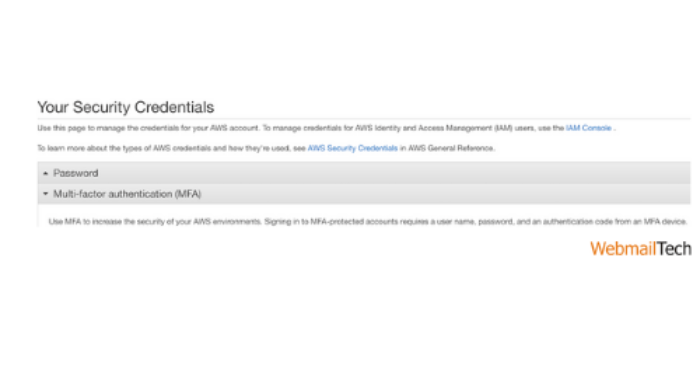
- Option 2: Click your user name on the right side of the navigation bar, then click Security Credentials. Continue to Security Credentials if possible. Then expand the Multi-Factor Authentication (MFA) section on the website.

- Depending on the option you chose in the preceding step, click Manage MFA or Activate MFA.
- Click A virtual MFA device in the wizard, then Next Step.
- Confirm that a virtual MFA app is installed on the device, then press Next Step. IAM generates and displays configuration information for the virtual MFA system, including a QR code graphic. The image shows the hidden setup key, which is available for manual entry on devices that do not support QR codes.
- Open the user’s virtual MFA app while the Manage MFA System wizard is still open.
- If the virtual MFA app supports multiple accounts (multiple virtual MFA devices). Then choose the Build New Account feature (a new virtual device).
- The only way to configure the software is to search the QR code with the app. If you are unable to search the code, you can enter the configuration information manually.
- To use the QR code to configure the virtual MFA device, search the code according to the app’s instructions. For eg, you would need to tap the camera icon or a command. Like Scan account barcode, and then use the device’s camera to scan the QR code.
- If you are unable to scan the code. Enter the Secret Configuration Key value into the app to manually enter the configuration information. In the AWS Virtual MFA program, for example, press Manually add account. Then enter the hidden configuration key and click Create.
This is important:
Create a safe copy of the QR code or secret setup key, or insure that several virtual MFA devices are activated for your account. A virtual MFA device can become unavailable (for example, if you lose the smartphone on which the virtual MFA device is hosted). If this occurs, you will be unable to sign in to your account and will need to call customer support to get MFA security removed from the account.
NOTE: IAM creates a QR code and a special setup key that are connected to your AWS account and can’t be used by another. They will, however, be used to set up a new MFA system for your account if you lose access to your new device.
- The device helps to generate six-digit numbers.
- Type the six-digit number that the MFA device is currently showing in the Authentication Code 1 box in the Manage MFA Device wizard. Allow up to 30 seconds for the system to generate a new six-digit number before inserting it into the Authentication Code 2 box.
This is important:
After you’ve created the codes, submit your request right away. If you create the codes but then wait too long before submitting the order, the MFA system successfully associates with the user but is out of sync. Since time-based one-time passwords (TOTP) fail after a brief period of time, this occurs. You should resync the system if this occurs.
- Next, click Next Step, and finally, click Finish.
1.3 Set Account Security Challenge Questions
Account security challenge questions must be configured so they are used to verify that you own an AWS account.
- Sign in as the AWS account root user with your AWS account email address and password, then login to AWS account settings page at https://console.aws.amazon.com/billing/home?#/account/.
- Move to a Security Challenge Questions Configuration section.
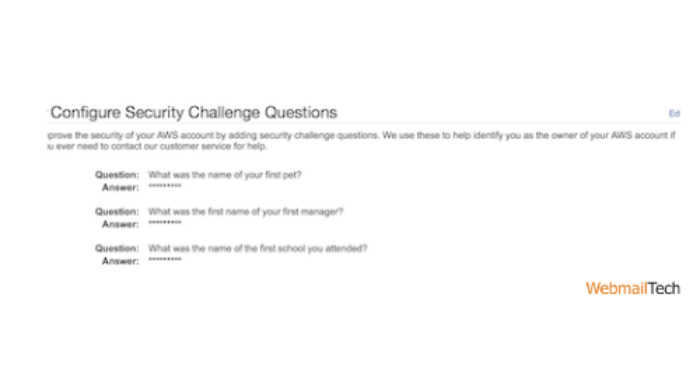
- Choose three challenge questions and enter answers for each.
- Store the questions and answers as securely as you can passwords or other credentials.
- Click the update button.
1.4 Set Account Alternate Contacts
Alternate contacts enable AWS to contact someone else about account problems if you are unavailable.
- Sign in as the AWS account root user with your Amazon Web Services account email address and password, then move to the AWS account settings page at https://console.aws.amazon.com/billing/home?#/account/.
- Move to the alternate contacts setup tab.
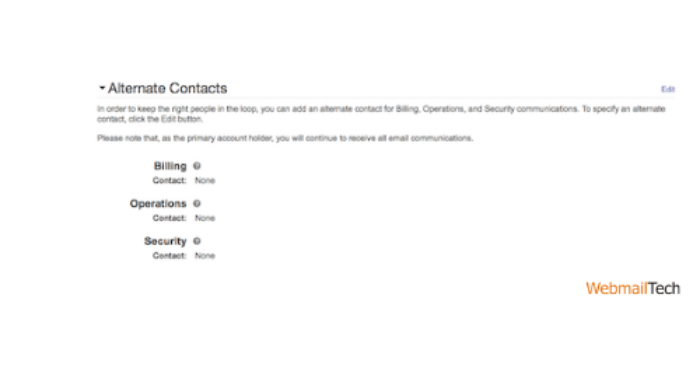
- Submit contact details for billing, operations, and security.
- Click the update button.
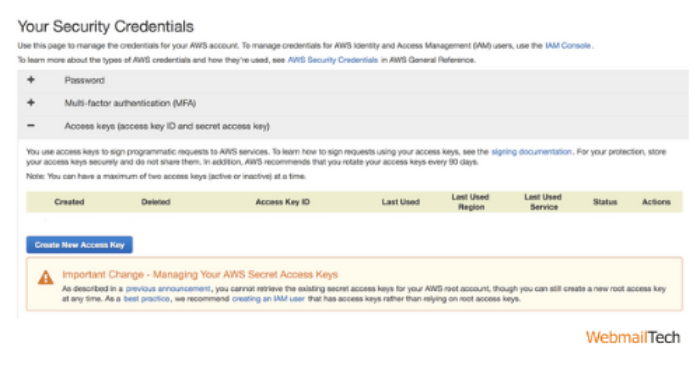
1.5 Delete Your AWS Account’s Root User Access Keys
To make programmatic requests to Amazon Web Services, you need an access key (an access key ID and a hidden access key). Do not, however, use the AWS account’s root user access key. The access key for your AWS account provides direct access to all of your resources for all AWS programs, including your billing information. You cannot restrict the permissions connected with your AWS account access key.
- Check the credential report; if you don’t already have an AWS access key, don’t make one unless absolutely necessary. Instead, sign in to the AWS Management Console with your account email address and password to build an IAM user with administrative rights for yourself. This will be discussed more in a later section.
- If you have an access key for your Amazon Web Services account, delete it unless you have a specific need for it. To delete or rotate your AWS account access keys, go to the Security Credentials page of the AWS Management Console and sign in with your account’s email address and password. In the Access keys section, you can manage your access keys.
- Never give out your AWS account name or access keys to someone.
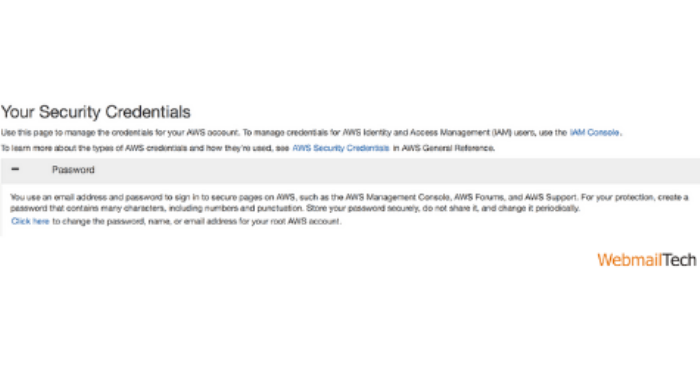
1.6 Change the AWS Account Root User Password on a Regular Basis
To update the password, you must be signed in as the AWS account root owner. See Resetting The Lost or Forgotten Passwords or Access Keys for information about how to recover a forgotten root user password.
To change the root user’s password, follow these steps:
- Sign in to the AWS Management Console as the root user using the AWS account’s email address and password.
Take note:
If you previously signed in to the console using IAM user credentials, your browser will recall this choice and open your account-specific sign-in page. You cannot sign in with your AWS account root user credentials via the IAM user sign-in tab. If you see the IAM user sign-in tab, press Sign-in using root account credentials at the bottom of the page to return to the key sign-in page. From there, enter your AWS account email address and password.
- Click your account name or number, followed by My Account, in the upper right corner of the console.
- Click Edit in the Account Settings section on the right side of the page.
- On the Password line, select Click here to update your password.
- Use a strong password. While you can set an account password policy for IAM users, it does not extend to your AWS account root user.
AWS demands that the password satisfy the following requirements:
- get at least 8 characters and no more than 128 characters.
- Include at least three of the following character types: uppercase, lowercase, numbers, and! @ # $ % & * () > [] | + – = = symbols.
- Not be the same as your AWS account name or email address.
Take note:
AWS is making changes to the sign-in procedure. All of these improvements is the introduction of a more safe password policy for your account. If your account has been updated, you must follow the password policy described above. If your account has not yet been updated, AWS does not apply this policy, but it strongly recommends that you follow its strong password guidelines.
It is important to observe the following best practices to strong passwords:
- Change your password on a regular basis, and keep it private, so someone who knows your password will enter your account.
- Using a different login on AWS than you do on other sites.
- Passwords that are simple to infer should be avoided. Passwords such secret, password, amazon, or 123456 are examples. They also contain items like a dictionary word, your name, email address, or other readily accessed personal information.
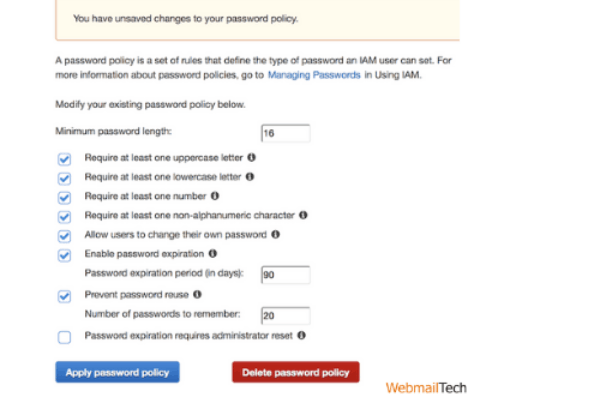
1.7 Create a Strong Password Policy for Your Users
On your AWS account, you can create a password policy to define the difficulty requirements and mandatory rotation times for the passwords of your IAM users. The IAM login policy does not apply to the AWS root account password.
To create or change a password policy, follow these steps:
- Sign in to the AWS Management Console and move to IAM console at https://console.aws.amazon.com/iam/.
- Tap Account Settings from navigation window.
- Pick the Password Policy options you want to apply to your password policy in the Password Policy section.
- Select the Apply Password Policy button.
Follow more information, CLICK HERE